Vegetables
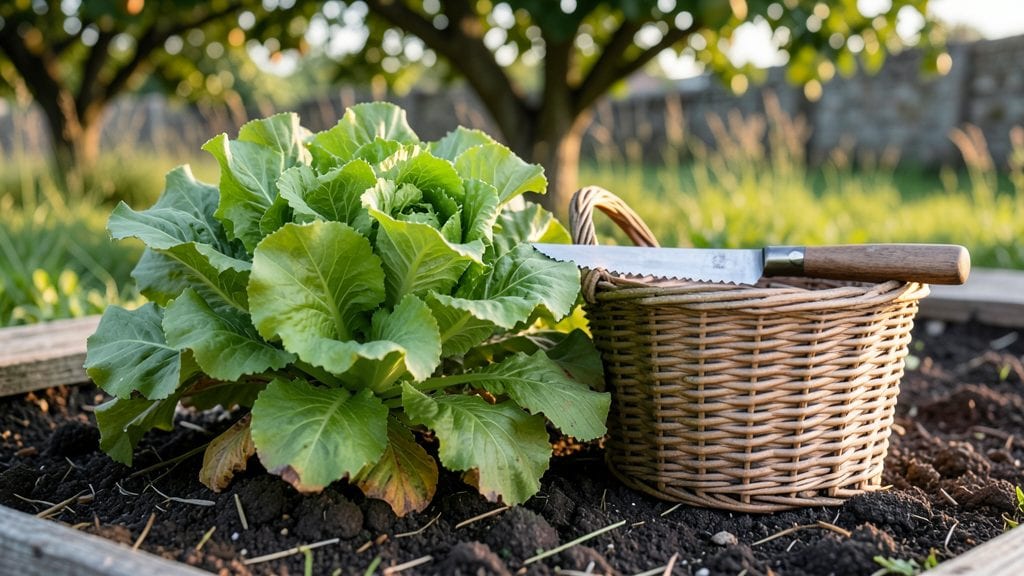
Transforming a tiny patch of yard into a home vegetable garden that feeds you year-round is the kind of gardening magic that changes everything. 🌱 I started with just four raised beds on my city lot and now grow enough tomatoes, greens, and herbs to preserve through winter—no green thumb required, just smart planning.
The secret lies in stacking plants vertically, mixing edibles with flowers, and choosing varieties that thrive in your specific climate. You don’t need acres—just a few well-placed containers or a single raised bed can produce pounds of food if you arrange it right.
My zucchini vines climb a trellis next to bush beans, while lettuce and radishes share space between strawberries in hanging baskets.
By summer’s end, you’ll be harvesting crisp lettuce, sweet peas, and sun-ripened tomatoes all from the same small footprint. The garden becomes a living kitchen, where every plant has a purpose and every inch works harder.
Plus, the sight of fresh greens popping through soil makes every morning feel like a small victory.
Whether you’ve got a balcony, a backyard corner, or just a sunny windowsill, these designs prove that big harvests don’t need big spaces. Let’s turn that patch into your most productive real estate yet.
📚 In This Guide
- What you need
- Instructions
- Tips and common mistakes
- Wrapping up and next steps
What you need
- ● Garden Space: Containers (5–10 gallons each) or raised beds (at least 6–12 inches deep)
- ● Sunlight: 6+ hours daily (south-facing is ideal in the Northern Hemisphere)
- ● Soil & Amendments: High-quality potting mix or garden soil (sterilized if reusing)
- ● Compost (1–2 cups per plant) or organic fertilizer (e.g., worm castings, fish emulsion)
- ● Perlite or vermiculite (1 part per 3 parts soil for drainage)
- ● Seeds or Seedlings: Choose fast-growing varieties (e.g., lettuce, radishes, green onions) or perennials (e.g., kale, Swiss chard)
- ● Quantity: 1–2 seeds per container (thin to the strongest sprout)
- ● Basic Tools: Trowel or small hand shovel
- ● Watering can (with a spray nozzle for seedlings)
- ○ Gloves (optional but handy!)
- ● Drip irrigation system or self-watering containers
- ● Mulch (straw or shredded leaves) to retain moisture
- ● Trellis or stakes for vining plants (e.g., cucumbers, beans)
- ● pH test kit (aim for 6.0–7.0 for most veggies)
- ● Garden journal to track planting dates and harvests
Step-by-step instructions for designing compact home vegetable gardens
Here's how I maximize space and harvests in just a few square feet—no fancy tools needed.
🪴 Step 1: Plan Your Layout for Maximum Efficiency
Start by sketching your space on paper. I like to use a grid system with 12-inch squares—this makes it easy to visualize plant spacing. Group plants by their sunlight needs: full sun vegetables like tomatoes and peppers go in the southernmost spots, while leafy greens that tolerate partial shade can fill gaps.
For a 4-plant system, I dedicate one corner to a tall trellis (like pole beans or cucumbers), one side to bushy plants (like peppers or lettuce), and the remaining space to sprawlers (like zucchini or radishes). This vertical thinking saves space and keeps everything accessible.
☀️ Step 2: Optimize Sunlight Exposure Daily
Measure your garden’s sunlight at different times of day. Most vegetables need 6-8 hours of direct sun, but some (like spinach) can handle 4-6 hours. I rotate my containers every 2-3 days to ensure even exposure—just a quarter turn keeps plants growing straight and prevents them from leaning toward the light.
If your space gets afternoon shade, prioritize heat-loving plants (like tomatoes) in the morning sun spots and cooler crops (like kale) where the sun fades earlier. Watch for shadows cast by walls or fences—they can shift with the seasons, so adjust your layout every 2-3 weeks.
💧 Step 3: Layer Plants for Continuous Harvests
Use the "layering" trick to stretch your growing season. Plant fast-growing crops (like radishes or lettuce) in the same space as slower ones (like carrots or broccoli). Radishes mature in 3-4 weeks, so they’re gone before carrots need the space. This keeps your garden productive without crowding.
I also stagger plantings every 2 weeks—this ensures a steady supply of fresh veggies instead of a single big harvest. For example, if you plant a row of lettuce, sow another row 2 weeks later when the first batch is still young. You’ll always have something ready to pick.
✂️ Step 4: Maintain with Minimal Effort
Water deeply once a week (or more in hot weather) but focus on the base of plants to avoid wetting leaves, which can cause disease. I use a drip irrigation system (even a simple DIY setup with a hose and emitters) to save time and keep soil evenly moist. Mulch with 2-3 inches of straw to retain moisture and suppress weeds—this cuts weeding time by 80%.
Prune regularly to encourage bushier growth. For example, pinch off the tips of basil plants when they reach 6 inches to prompt more leaf production. Harvest frequently—picking veggies like beans or zucchini when they’re young keeps plants productive and prevents overcrowding.
🌱 Step 5: Rotate Crops Seasonally for Long-Term Health
Every 3 months, swap out plants to prevent soil depletion and pest buildup. For example, after harvesting tomatoes in summer, replace them with cool-season crops like spinach or peas in fall. This keeps your soil balanced and reduces the need for fertilizers.
I also keep a simple log of what I plant where and when. After a season, I note which plants thrived and which struggled—this helps me adjust next year’s layout. For instance, if peppers always underperform in one spot, I’ll move them to a sunnier area the following year.
Tips & tricks for perfect compact home vegetable gardens
These simple strategies will help you get the most out of your small space without sacrificing yield or variety.
The Grid System Secret: When sketching your 12-inch grid, I always mark north on my paper first. This helps me orient my garden correctly so I can place sun-loving plants on the southern side where they'll get the most light throughout the day. Trust me on this—misaligned grids can leave plants struggling for sunlight even in sunny locations.
Sunlight Rotation Hack: That 2-3 day rotation I mention isn't just about even growth—it's also a great way to spot problems early. If one side of your container starts leaning dramatically after just a day, it's a sign you need to move that plant to a sunnier spot immediately. Plants will grow toward the light, but they'll also tell you when something's wrong.
Layering Like a Pro: The key to successful layering is choosing plants with compatible growth cycles. For example, radishes (3-4 weeks) work perfectly with carrots (60+ days) because the radishes will be harvested long before the carrots need that space. I always check seed packets for maturity times when planning my layers—it's the difference between a crowded mess and a productive system.
Mulch Magic: Those 2-3 inches of straw I recommend aren't just for moisture—they also act as a natural weed barrier. The straw breaks down slowly, adding organic matter to your soil over time. I like to refresh my mulch every 4-6 weeks to maintain its effectiveness, especially during hot summer months when evaporation is highest.
Pro Tips for Home Vegetable Gardens
- These simple strategies will help you get the most out of your small space without sacrificing yield or variety.
- The Grid System Secret: When sketching your 12-inch grid, I always mark north on my paper first.
- Sunlight Rotation Hack: That 2-3 day rotation I mention isn't just about even growth—it's also a great way to spot problems early.
Frequently asked questions
Got questions about starting or maintaining your home vegetable garden? You’re not alone! Here are some of the most common queries—and their straightforward answers—to help you grow with confidence.
Can I grow vegetables in a small space, like a balcony or patio?
Compact designs like container gardening, vertical planters, or raised beds are perfect for small spaces. Choose fast-growing, space-efficient crops like lettuce, herbs, cherry tomatoes, or bush beans. Just ensure your containers have drainage and get at least 6–8 hours of sunlight daily.
When is the best time to start planting vegetables?
Timing depends on your climate and crop! For cool-season veggies (like kale or peas), plant in early spring or fall. Warm-season crops (tomatoes, peppers) thrive when soil temps hit 60°F+. Use seed packets for specific guidelines, or check your local frost dates. Pro tip: Start seeds indoors 4–6 weeks before the last frost for a head start!
How do I keep pests away without chemicals?
Prevention is key! Use row covers, companion planting (e.g., marigolds deter pests), or introduce beneficial insects like ladybugs. For stubborn problems, try neem oil or soapy water sprays. Healthy soil and strong plants naturally resist pests—rotate crops yearly to break pest cycles.
How often should I water my vegetable garden?
Water deeply 1–2 times per week, aiming for 1–1.5 inches of water total. Early morning is best to reduce evaporation and fungal risks. Use drip irrigation or soaker hoses to deliver water directly to roots. Watch for wilting or yellowing leaves—these are signs of over- or under-watering!
What if my garden fails due to weather or pests?
Don’t stress—even experienced gardeners face setbacks! Try succession planting (sowing new seeds every 2–3 weeks) to replace lost crops. For extreme weather, use cloches (mini greenhouses) or move potted plants to shelter. Learn from each season and adjust next year’s plan.
Can I grow vegetables year-round, even in cold climates?
Yes! Use season extenders like cold frames, hoop houses, or row covers to protect plants. Choose hardy crops like spinach, carrots, or kale for winter. In very cold areas, grow microgreens or herbs indoors under grow lights until outdoor conditions improve.
Wrapping up and next steps
Starting a home vegetable garden—even in a small space—is one of the most rewarding ways to enjoy fresh, homegrown produce year-round. 🌱 From choosing the right containers to maximizing sunlight and soil health, every step brings you closer to a thriving harvest that’s both nutritious and satisfying.
Whether you’re a beginner or a seasoned gardener, the key is to start small, stay consistent, and let your green thumb grow!
Ready to dig in? Pick one vegetable to plant this week—your future self (and taste buds) will thank you! 🌿