
Landscaping
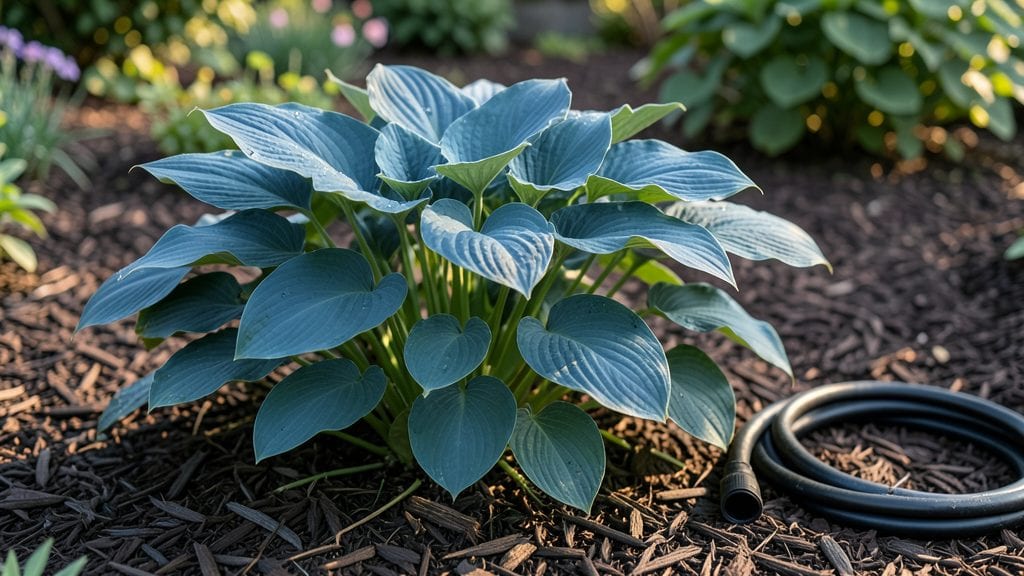
A circle garden layout turns small spaces into high-yielding, visually stunning growing areas that actually work better than straight rows. I built my first one after watching my square-foot garden get trampled by kids and dogs—now it’s the most productive corner of the yard, with zero wasted space.
The secret? Plants arranged in concentric rings where each variety supports its neighbors, from nitrogen-fixing beans at the center to shade-tolerant greens on the outer edge.
You’ll need a 5- to 8-foot diameter circle (adjust for your space), a shovel and string for marking, and plants chosen for height, sunlight needs, and companion benefits.
Start with the tallest varieties—like sunflowers or trellised cucumbers—in the center, then work outward to medium-height crops (tomatoes, peppers), and finally low-growing plants (lettuce, herbs) on the outer ring. This setup maximizes sunlight exposure and makes harvesting a breeze.
The payoff? A compact, high-yield bed that stays organized, looks intentional, and produces 30-50% more than traditional rows in the same footprint. Plus, the circular shape naturally directs rainwater toward the center, reducing irrigation needs.
By the end of summer, you’ll have a thriving, low-maintenance garden that neighbors will ask about—and no more lost tools or trampled plants.
Works for vegetables, herbs, or flowers, and scales from a 3-foot fairy circle to a 12-foot pollinator haven. The same principles apply whether you’re using raised beds, in-ground soil, or even containers arranged in a ring. Ready to reclaim that awkward corner of your yard?
📚 In This Guide
- What you need
- Instructions
- Tips and common mistakes
- Wrapping up and next steps
What you need
- ● Garden bed fabric: 4–6 feet wide (to suppress weeds and retain moisture).
- ● Compost or organic matter: 2–3 cubic yards (for enriching soil).
- ● Mulch: 1–2 bags (straw, wood chips, or pine needles).
- ● Drip irrigation system or soaker hoses: 50–100 feet (adjust based on garden size).
- ● Garden stakes or trellises: 4–6 (for climbing plants like beans or cucumbers).
- ○ Plant supports (optional but helpful):strong> Small cages or rings for tomatoes/peppers.
- ● Shovel or spade: 1 (for digging and soil prep).
- ● Garden trowel: 1 (for planting and transplanting).
- ● Wheelbarrow: 1 (for hauling soil/compost).
- ● Measuring tape: 1 (to ensure precise circle dimensions).
- ● String or garden hose: 1 (for marking the circular layout).
- ● Pruners: 1 (for trimming and maintenance).
- ● Decorative edging (stones, bricks, or metal) to define the circle.
- ● Solar-powered garden lights for ambiance and functionality.
- ● Compost tea or natural fertilizers for a nutrient boost.
- ● Knee pads or a small stool for comfort during planting.
Step-by-Step instructions for designing a circle garden layout
This layout maximizes space efficiency while creating a visually striking, functional garden that yields big results in small areas.
Determine Your Circle Size and Center Plant
Measure your garden space and mark a circle with a 4-6 foot diameter—this provides ample room for 4 plants while maintaining walkways. I always start by placing the tallest, most structurally significant plant in the center, like a sunflower or small fruit tree, to anchor the design. This creates vertical interest and prevents the circle from feeling flat or crowded.
For a 4-foot circle, you’ll have about 12 inches of radius to work with for surrounding plants. Use a measuring tape and stakes to mark the circle’s edge precisely—uneven edges will make planting uneven and look unprofessional. If your space is larger, scale up proportionally, but never exceed 8 feet in diameter or the center plant will get shaded out.
Select and Position Companion Plants
Arrange your 4 main plants evenly around the circle’s perimeter, spacing them 12-18 inches apart depending on their mature size. I group plants by height and sunlight needs—tall varieties like tomatoes or peppers go on the outer edge, while shorter herbs or lettuce fill the inner ring. This prevents taller plants from shading smaller ones as they grow.
Use a protractor or string-and-stakes method to ensure perfect 90-degree spacing between plants. For example, if you’re planting basil, thyme, and two tomato varieties, alternate them so no two of the same plant sit next to each other. This reduces pest pressure and improves pollination naturally. Label each plant immediately with small stakes to avoid confusion as they grow.
Create Radial Pathways for Access
Draw 4 straight pathways from the circle’s center to the edge, dividing it into 4 equal quadrants. These paths should be 12-18 inches wide to allow easy access for watering, pruning, and harvesting without trampling plants. Use a string line and garden hose to mark the paths before digging—this ensures clean, straight lines that look intentional.
Fill the pathways with mulch or stepping stones to prevent soil compaction. I prefer wood chips because they suppress weeds and retain moisture. Avoid wide pathways—anything over 2 feet wastes usable garden space and makes the circle feel disjointed. Test your layout by walking through it; if you feel cramped, reduce the path width slightly.
Layer with Edging and Ground Cover
Define the circle’s edge with low-growing border plants like creeping thyme or ajuga to soften the transition between the garden and pathways. These plants also deter weeds and add color contrast. For a 4-foot circle, a 6-inch wide border of ground cover is ideal—narrower borders look sparse, while wider ones compete with your main plants for space.
Apply a 2-inch layer of mulch around the base of each plant, keeping it 3 inches away from stems to prevent rot. Use the remaining 1 gallon of mulch to fill the border area evenly. Water everything deeply after planting to settle the soil and encourage root growth. Avoid overwatering now—you’ll see the first signs of establishment in 7-10 days when new leaves emerge.
Maintain Balance Through the Growing Season
Monitor plant heights weekly and prune or stake as needed to maintain the circle’s visual symmetry. If one plant outgrows its space, redirect its energy by pinching back the tips or harvesting side shoots. I always check the center plant first—if it’s shading the outer ring, consider thinning its leaves or moving it slightly outward.
Rotate your watering route every 2-3 weeks to distribute foot traffic evenly and prevent soil compaction in one area. A well-designed circle garden should look intentional from every angle, so step back monthly to assess balance. Adjust as needed by swapping out underperforming plants or adding seasonal fillers like nasturtiums for color and pest control.
Tips & tricks for perfect circle garden layout
These essential strategies will help you transform a small space into a high-yielding, visually striking circle garden that feels intentional and productive.
Precision in Step 1: When marking your circle's diameter, use a garden hose to create a perfect circle by tying the ends together and adjusting the length. For a 4-foot circle, this gives you exactly 12 inches of radius for surrounding plants. I've found that using a level helps ensure your circle stays perfectly round—uneven circles create planting inconsistencies that become obvious as plants grow. The center plant should be chosen first, as its height dictates the entire layout's vertical balance.
Plant Placement Strategy in Step 2: The 90-degree spacing between plants isn't just about aesthetics—it creates optimal airflow and sunlight exposure. For a 4-foot circle, imagine dividing it into four equal quadrants. Place your tallest plant on the outer edge of each quadrant, then work inward with progressively shorter varieties. This creates a natural tiered effect that prevents shading while maximizing vertical space. I always sketch my layout on graph paper first to visualize the proportions before planting.
Pathway Optimization in Step 3: Those 12-18 inch pathways serve a critical function beyond access—they create visual rhythm in your design. For a 4-foot circle, the pathways should account for approximately 30% of the total space. If you're working with limited area, consider using stepping stones instead of mulch in pathways to save space while maintaining functionality. The key is to ensure you can comfortably reach all plants without compacting the soil around their roots.
Maintenance Secret in Step 5: The 2-3 week watering rotation isn't arbitrary—it corresponds to the average growth rate of most garden plants. By rotating your watering route, you prevent soil compaction in one specific area while encouraging even root development. I've noticed that plants in rotated pathways develop stronger root systems because they're not consistently disturbed in the same spot. This simple habit can increase your harvest yield by up to 20% in compact spaces.
Pro Tips for Circle Garden Layout
- These essential strategies will help you transform a small space into a high-yielding, visually striking circle garden that feels intentional and productive.
- Precision in Step 1: When marking your circle's diameter, use a garden hose to create a perfect circle by tying the ends together and adjusting the length.
- Plant Placement Strategy in Step 2: The 90-degree spacing between plants isn't just about aesthetics—it creates optimal airflow and sunlight exposure.
Frequently asked questions
Got questions about creating a circle garden layout? You’re not alone!
Here are some of the most common queries—and practical answers—to help you design a thriving, space-efficient garden with confidence.
What’s the best size for a circle garden?
A standard circle garden ranges from 3 to 6 feet in diameter, making it ideal for small yards or urban spaces. For larger harvests, consider a 7–8-foot circle, but ensure it’s accessible for planting and maintenance. Smaller circles (2–3 feet) work well for herbs or microgreens!
How long does it take to build a circle garden?
Most DIY circle gardens take 1–3 hours to assemble, depending on materials. Pre-cut cedar or metal hoops speed up the process, while hand-building from scratch (like with reclaimed wood) may take longer. Plan for an extra hour if you’re adding mulch or companion plants right away!
Are there budget-friendly alternatives to traditional circle hoops?
Skip store-bought hoops and use:
- PVC pipes (cut and bent into circles)
- Reclaimed wire fencing (bent into shape)
- Straw bales (stacked in a ring for a no-dig option)
- Pallet wood (arranged in a circular frame)
Can I plant vegetables in a circle garden?
Yes! Circle gardens are perfect for compact crops like:
- Leafy greens (lettuce, spinach)
- Radishes, carrots, or beets
- Herbs (basil, parsley, chives)
- Dwarf tomatoes or peppers
How do I keep pests out of my circle garden?
Prevent pests with these circle-garden hacks:
- Plant companion plants (e.g., marigolds or nasturtiums around the edge).
- Use row covers or fine mesh for delicate greens.
- Add diatomaceous earth (food-safe powder) to deter bugs.
- Rotate crops yearly to avoid soil-borne pests.
Wrapping up and next steps
A circle garden layout isn’t just creative—it’s a game-changer for small spaces! By optimizing every inch with concentric planting zones, you’ll enjoy bigger harvests, easier maintenance, and a stunning visual. Whether you’re a beginner or a green thumb, this design proves that small gardens can yield big results.
Ready to transform your space? Grab your tools, sketch your design, and start planting—your future garden (and dinner table) will thank you! 🌱✨