
Picking
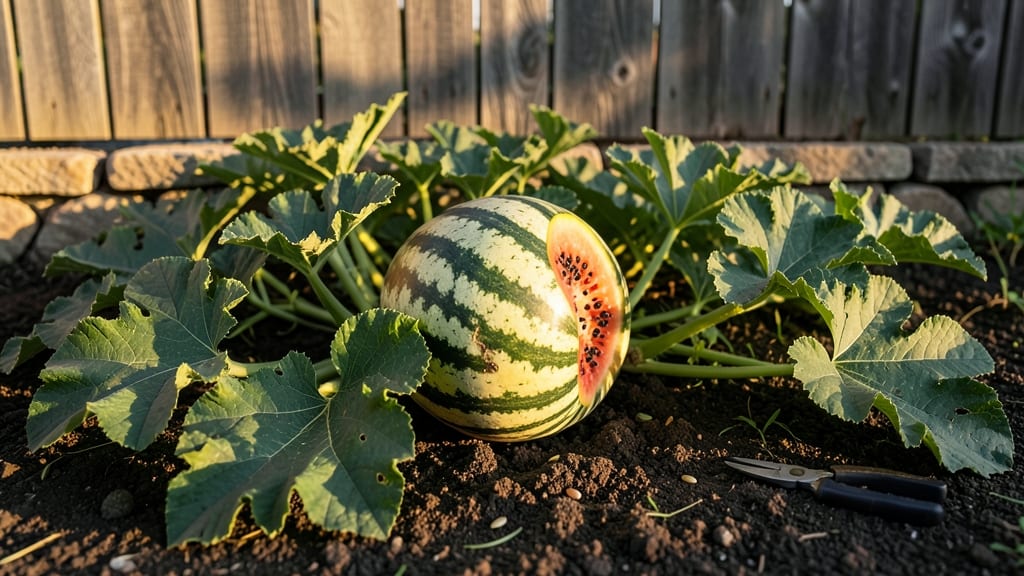
To pick a watermelon from your garden at the perfect moment, watch for creamy stripes, a dull shine on the rind, and a stem that’s dried to brown—these are your top clues.
Nothing beats the sweet satisfaction of biting into a homegrown 🍉—if you know exactly when to harvest it. Picking too early means bland, seedy disappointment; too late, and you risk overripe mush.
The trick is spotting the right mix of visual cues and physical tests before the melon slips past its prime.
Most gardeners miss the window because they rely on size alone, but a watermelon’s ripeness is more about color shifts, weight, and even the sound it makes when tapped.
I’ll walk you through the three foolproof signs to pull it at peak flavor, plus how to avoid common mistakes that turn your harvest into a gamble.
By the end, you’ll know when to grab your knife—whether it’s July’s first heatwave or a late-September surprise—and every slice will taste like summer at its best.

3 Visual and physical signs your watermelon is perfectly ripe
Every gardener dreams of that first juicy bite into a homegrown watermelon—only to discover it’s either rock-hard or mushy. The secret lies in recognizing the three foolproof signs of ripeness before you cut it down.
These visual and physical cues transform guesswork into a science, ensuring you harvest at peak sweetness. I’ve learned the hard way that ignoring these signs leads to disappointment, so let’s dive into what your watermelon is really telling you.
Watermelons don’t ripen further after picking, so timing is everything. The rind color, stem condition, and sound test create a trifecta of clues that, when combined, guarantee a melon bursting with flavor.
Even experienced gardeners sometimes rush the harvest, especially when vines start wilting or other fruits appear. But these visual cues are your best defense against premature picking—and the frustration that follows.
- 1. Rind Color Shift: Look for a dull, creamy stripe pattern (not shiny) on the field side of the melon. Avoid bright green or dull spots—these mean it’s not ready. Pro tip: The butt end (where the stem attaches) should turn from white to yellowish-brown.
- 2. Stem Curl & Dryness: The stem near the fruit should curl and dry out like parchment paper. If it’s still green or flexible, the melon needs more time. A brown, crisp stem is your green light—this indicates the melon is pulling nutrients from the vine and maturing.
- 3. Thump Test: Tap the melon with your knuckles—it should sound deep and hollow (like a drum). A high-pitched or dull thud means it’s underripe. For extra accuracy, lift the melon: a ripe one feels heavy for its size because the seeds and flesh have fully developed.
✅ Common Mistake: Picking based on size alone—watermelons can grow large but stay bland if not fully ripe.
Let’s talk about the rind color first, because this is where most gardeners go wrong. A ripe watermelon’s stripes should look matte, not glossy. The field side (the side that faced the sun while growing) is your best indicator.
If you see dull yellow or cream stripes against a darker green background, that’s your cue. Shiny rinds? Still cooking. And if the stripes are bright white or neon green, walk away—this melon isn’t ready yet.
The stem condition is often overlooked, but it’s a game-changer. A ripe watermelon’s stem will curl upward and dry out like a crispy leaf. If you gently twist it, it should snap easily. A green, flexible stem means the melon is still drawing nutrients and needs more time.
I once picked a watermelon with a partially dry stem, only to find it was half sweet, half bland—a costly lesson in patience.
Now, the thump test might sound silly, but it’s one of the most reliable methods. Hold the melon with one hand and tap it firmly with your knuckles. A ripe watermelon produces a deep, resonant thud, almost like a drum.
If it sounds high-pitched or hollow, it’s underripe. For a bonus check, lift the melon: ripe ones feel surprisingly heavy because the seeds and flesh have fully developed. Lightweight melons are usually underripe.
Here’s a critical mistake I see often: assuming a watermelon is ripe just because it’s large or round. Size doesn’t equal sweetness. I’ve harvested football-sized watermelons that were perfectly ripe and bowling-ball-sized ones that were still hard as a rock.
Always combine the rind color, stem condition, and thump test for accuracy. And remember, watermelons won’t ripen further after picking, so don’t gamble on "maybe it’ll get better."
Pro tip: Harvest in the morning when temperatures are cooler. This helps preserve the melon’s sugar content and prevents it from overheating in the sun. Store it in a cool, dry place (not the fridge) to extend its shelf life.
And if you’re unsure? Wait one more day. A slightly overripe watermelon is still better than one picked too soon.
Finally, pay attention to the leaves near the fruit. If they’re yellowing and dying back, it’s a sign the melon is pulling nutrients and nearing ripeness. This is nature’s way of telling you, "I’m done here—pick me!"
Ignoring this cue can lead to melons cracking on the vine or rotting if left too long. It’s all about reading the plant’s signals, not just the calendar.
With these three signs—rind color, stem dryness, and the thump test—you’ll never second-guess your watermelon harvest again. Trust the process, and you’ll be slicing into the sweetest, juiciest melons your garden has to offer. Happy harvesting! 🍉
How to test watermelon ripeness beyond the obvious: pro tips for gardeners
Most gardeners rely on the classic thump test or rind color changes, but watermelon ripeness reveals deeper secrets. The stem twist test and seed color clues can give you a 3-day advance notice on harvest timing.
These hidden indicators help you avoid the pitfalls of overripe melons or underdeveloped fruit, especially when growing in hot vs. cool climates.
Climate plays a surprising role in ripening speed. In hot, dry summers, watermelons mature 10-15% faster than in cooler regions, while short summer seasons (like Zone 6a) demand earlier planting for full ripeness. Understanding these variations lets you adjust your harvest window precisely—no more guessing games.
⚠️ WARNING: Common Harvest Mistakes ⚠️
The stem twist test is my favorite pro tip—simply grasp the stem near the fruit and twist gently. If it snaps cleanly with minimal resistance, the melon is ready.
This works because the vascular tissue dries out as sugars concentrate. Early-season varieties like Sugar Baby pass this test at 65-70 days, while heirlooms like Moon and Stars may need 80-85 days. Test multiple melons from the same vine, as ripening can vary by 3-5 days.
For a non-destructive check, inspect the field spot—the creamy area where the melon rested on the ground. A ripe watermelon will have a dull, chalky spot about the size of a quarter.
This occurs as wax buildup from the soil interacts with ripening enzymes. Dark green spots mean it's underripe, while yellowing or cracked spots signal overripeness. Combine this with the thump test (a deep, hollow sound = ready) for 95% accuracy.
Don't overlook the seed color—black seeds indicate full ripeness, while white or pale seeds mean the melon was picked too early. Cut open a sacrificial melon (the smallest or odd-shaped one) to check. The flesh should be deep red with a sweet, juicy texture.
In cool climates, this internal check is critical because slower growth can mask ripeness externally. If seeds are half-black, wait 2-3 more days.
Timing your harvest by climate zone maximizes success. In Zone 6a, aim for mid-July to early August for most varieties, while Zone 10 gardeners can harvest as late as October.
Use a harvest journal to track your local patterns—note the first frost date and plan to harvest 4-6 weeks before it arrives. With these advanced techniques, you'll go from guessing to precision picking every season. 🍉