
How To
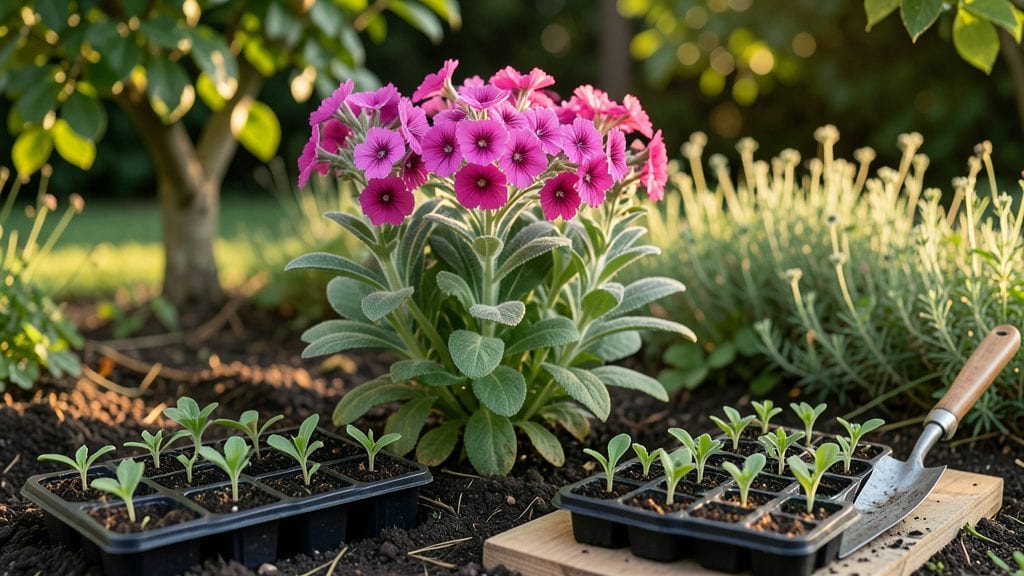
Spring gardening tasks start the moment the ground thaws enough to work—because that first week of warm soil makes all the difference between a thriving summer garden and one that struggles to catch up.
I remember my first spring after moving to a colder zone, where I nearly lost my entire tomato crop because I waited too long to plant. The secret isn’t rushing, but knowing exactly when to act: clearing debris, testing soil, and prepping beds before the weeds take over.
You’ll need basic tools—a sturdy rake, gloves, and a soil test kit (or at least a simple pH strip)—plus a plan for what you’re planting.
Most spring crops like lettuce, peas, and pansies can handle cooler soil, while tomatoes and peppers need to wait until nighttime temps stay above 50°F. The key is balancing patience with momentum: too early and you’ll invite frost damage; too late and you’ll miss the early harvest window.
By the time you’re done, your garden will look like a fresh canvas—dark, crumbly soil ready to support new growth. You’ll see the first tender shoots of spinach or the bright blooms of snapdragons popping up within weeks, a sign that all the prep work paid off.
The real magic happens when you step back and watch your plants respond to the care you’ve given them.
This checklist works whether you’re in a mild climate or one with late frosts—just adjust timing by 2-3 weeks based on your last average frost date. The goal is to turn your garden into a productive, low-stress space where even beginners can feel confident.
Let’s get those gloves on and make it happen.
📚 In This Guide
- What you need
- Instructions
- Tips and common mistakes
- Wrapping up and next steps
What you need
- ● Garden gloves: 1 pair (water-resistant, durable, e.g., nitrile-coated for extra protection).
- ● Hand trowel: 1 (5–7" stainless steel, ergonomic grip).
- ● Pruners: 1 pair (bypass pruners for clean cuts, sterilized).
- ● Garden fork: 1 (heavy-duty, 12–18" for aerating soil).
- ● Rake: 1 (bendable steel tines for debris removal).
- ● Hose with nozzle: 1 (adjustable spray for watering).
- ● Compost: 5–10 gallons (aged, nutrient-rich, homemade or store-bought).
- ● Mulch: 2–3 bags (organic, e.g., shredded bark or straw).
- ● Plant markers: 10–20 (biodegradable or reusable).
- ● Soil test kit: 1 (to check pH and nutrient levels).
- ● Wheelbarrow: 1 (for hauling soil, compost, or debris).
- ● Kneeling pad: 1 (cushioned for comfort during long sessions).
- ● Seedling heat mat: 1 (for starting cold-sensitive plants indoors).
- ● Organic pesticides/fungicides: As needed (e.g., neem oil or copper spray).
- ● Drip irrigation kit: 1 (for efficient watering in larger gardens).
- ● Garden journal: 1 (to track planting dates, weather, and progress).
Instructions: spring gardening tasks for a productive season
Here’s how to refresh your garden and set your plants up for success this spring.
Clear and Prepare the Soil
Start by removing any dead plants, weeds, or debris from your garden beds. Use a rake to pull out roots and break up compacted soil. This prevents pests and diseases from overwintering and gives your plants room to grow. I like to work in sections—clearing one area at a time keeps the process manageable.
Next, loosen the top 6 inches of soil with a garden fork or tiller. This improves drainage and aeration, which is especially important for root crops like carrots and potatoes. If your soil feels heavy or clay-like, mix in 2-3 inches of compost or aged manure to enrich it. You’ll know it’s ready when it crumbles easily between your fingers.
Test and Amend Soil as Needed
Before planting, check your soil’s pH and nutrient levels with a simple test kit. Most vegetables prefer a pH between 6.0 and 7.0, while acid-loving plants like blueberries need 5.0 to 6.0. If your soil is too alkaline or acidic, amend it with lime (to raise pH) or sulfur (to lower it) according to the test results.
Add a balanced fertilizer or organic matter like composted leaves or grass clippings to replenish nutrients. Spread it evenly over the soil and work it in with a rake. Avoid over-fertilizing—too many nutrients can burn plant roots. A light layer of mulch afterward helps retain moisture and keeps weeds at bay.
Prune and Divide Perennials
Early spring is the perfect time to prune back dead or damaged stems on perennials like coneflowers, daylilies, and hostas. Cut stems back to 2-3 inches above the ground, but avoid heavy pruning until new growth appears. This prevents shocking the plant and encourages fresh, vigorous shoots.
If any perennials have become overcrowded, now’s the time to divide them. Dig up clumps and separate them into smaller sections, ensuring each has healthy roots and at least one strong stem. Replant the divisions 12-18 inches apart, depending on the plant’s mature size. Water them well after transplanting to help them establish quickly.
Plant Cool-Season Crops and Flowers
Take advantage of spring’s mild temperatures by planting cool-season crops like lettuce, spinach, peas, and radishes. These thrive in 50-65°F soil and can handle light frosts. Sow seeds directly into the soil at the depth recommended on the packet, usually twice the seed’s diameter. Keep the soil consistently moist until germination.
For flowers, plant bulbs like tulips and daffodils if you haven’t already, or add annuals like pansies and snapdragons for early color. These brighten up the garden while attracting pollinators. Space plants according to their mature size—crowding leads to weak stems and poor airflow, which invites disease.
Set Up Support Structures and Mulch
Install trellises, cages, or stakes for plants that need support, like tomatoes, cucumbers, or climbing roses. Do this before the plants get too tall—otherwise, you’ll risk damaging their roots. Secure the supports firmly so they don’t topple in wind or rain. I like to use galvanized wire or bamboo stakes for a natural look.
Finally, apply a 2-3 inch layer of mulch around plants to retain moisture, suppress weeds, and regulate soil temperature. Use organic mulch like shredded bark, straw, or grass clippings. Keep mulch 2 inches away from plant stems to prevent rot. This step saves time later and keeps your garden looking neat.
Tips & tricks for spring gardening success
These essential tips will help you avoid common pitfalls and maximize your garden's potential this spring.
Soil Preparation Insight: When loosening the top 6 inches of soil in Step 1, focus on breaking up compacted layers rather than turning the soil completely. Over-tilling can disrupt soil structure and harm beneficial organisms. Work gently with a garden fork to create channels for roots while preserving soil life. If your soil feels particularly dense, consider aerating with a manual aerator before tilling.
pH Testing Tip: In Step 2, don't rely solely on the pH test kit's color chart—compare your results against fresh, untreated soil samples. Some test kits can give inaccurate readings if exposed to light or moisture. For acid-loving plants like blueberries, aim for a pH of 5.0-5.5 rather than the general 5.0-6.0 range, as these plants thrive in slightly more acidic conditions.
Pruning Precision: When pruning perennials in Step 3, use clean, sharp pruners to make clean cuts at the 2-3 inch mark. Ragged cuts can invite disease. Look for the first set of healthy leaves when cutting back—this helps the plant redirect energy to new growth. For overcrowded perennials, divide them when you see new shoots emerging, typically in early spring before the plants fully wake up.
Planting Strategy: For cool-season crops in Step 4, consider using row covers to extend the growing season if late frosts threaten. These lightweight fabrics protect young plants while allowing sunlight and water through. When planting flowers, group plants with similar water needs together to simplify irrigation. For example, place pansies with other moisture-loving annuals and snapdragons with more drought-tolerant varieties.
Pro Tips for Spring Gardening Tasks
- These essential tips will help you avoid common pitfalls and maximize your garden's potential this spring.
- Soil Preparation Insight: When loosening the top 6 inches of soil in Step 1, focus on breaking up compacted layers rather than turning the soil completely.
- pH Testing Tip: In Step 2, don't rely solely on the pH test kit's color chart—compare your results against fresh, untreated soil samples.
Frequently asked questions
Got questions about spring gardening?
You’re not alone! Here are answers to the most common queries to help you tackle the season like a pro.
When is the exact best time to start spring gardening tasks?
The ideal time depends on your climate, but after the last frost date is a general rule of thumb. For cool-season crops (like lettuce or spinach), start as early as late winter. Warm-season plants (tomatoes, peppers) need soil temps above 60°F (15°C). Check your USDA Hardiness Zone for local guidance!
What if I missed some tasks in early spring? Can I still catch up?
Don’t stress! Most spring tasks are flexible. Soil prep, pruning, and mulching can wait a few weeks, but weed control and composting should happen ASAP to avoid competition. Focus on high-priority tasks (like fertilizing) first—your plants will thank you!
Are there budget-friendly alternatives to expensive gardening supplies?
Skip pricey soil mixes—compost + yard waste works wonders. Use egg cartons or newspaper for seed starters, and repurpose containers (milk jugs, old buckets) for watering. Even free mulch (like fallen leaves or grass clippings) beats store-bought options.
How do I prevent pests naturally without harsh chemicals?
Start with prevention: Healthy soil = strong plants. Use neem oil, diatomaceous earth, or companion planting (e.g., marigolds repel pests). For slugs, set up beer traps (yes, really!). Copper tape around pots also works like magic!
How often should I water my garden in spring?
Water deeply 1-2 times per week (more if it’s dry). Early morning is best to reduce evaporation and fungal risks. Check soil moisture—if the top inch is dry, it’s time to water. Drip irrigation or soaker hoses save water and keep roots happy!
Wrapping up and next steps
Spring is the perfect time to roll up your sleeves and give your garden the love it deserves! 🌱 By tackling tasks like soil prep, pruning, planting, and pest control, you’ll set the stage for a lush, vibrant growing season.
Remember, consistency is key—small efforts now will yield big rewards later.
Ready to make this your best gardening season yet? Start with one task today—whether it’s testing your soil, planting seeds, or simply tidying up last year’s debris. Your green thumb is closer than you think! 🌿