
Tools
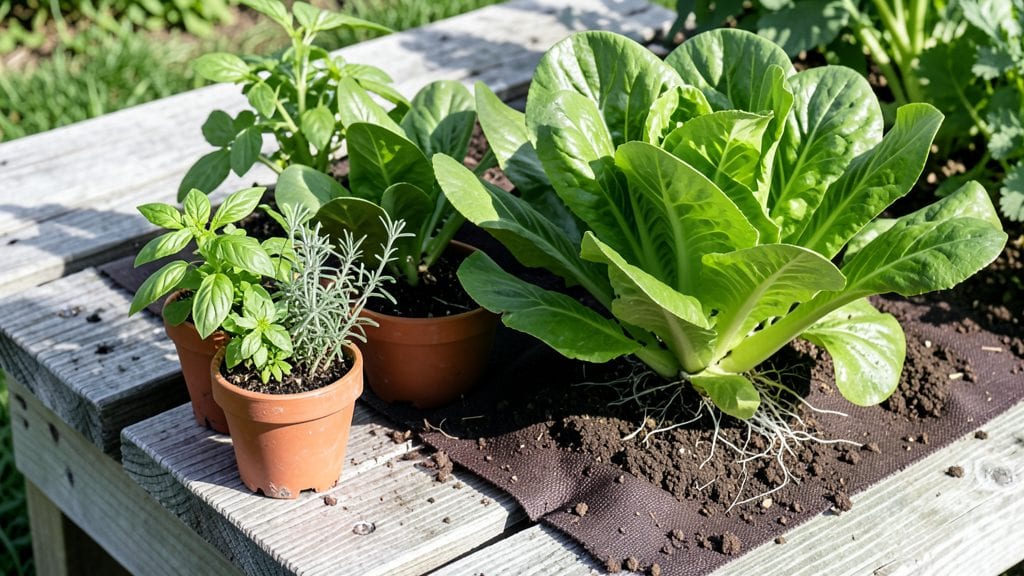
A sturdy pallet gardening table turns scrap wood into a functional, customizable planter that fits any space—whether you’re crammed between an apartment balcony and a neighbor’s fence or just want a low-cost way to grow 🌱 General Pallet Garden Plants.
Transforming old wooden pallets into heavy-duty planters solves two problems at once: it gives your garden a space-saving lift while keeping costs near zero.
No more wrestling with flimsy store-bought tables that collapse under tomato vines or struggle to hold soil—these builds are designed to last through spring harvests and beyond.
What’s even better? You can tweak the design for your needs—add wheels for mobility, stack them vertically for herbs, or go full rustic-chic with paint and lattice.
Below, I’ll walk you through the simplest 3-step build, plus pro tips to avoid common mistakes that turn your project into a wobbly disaster.
Ready to grow more with less fuss? Let’s get started with a table that’s as tough as it is easy to assemble.
How to build a heavy-duty pallet gardening table for maximum weight capacity
A pallet gardening table is a brilliant way to maximize growing space without sacrificing stability. Unlike flimsy DIY planters, this design uses reinforced pallet wood and metal brackets to support heavy plants like tomatoes, squash, or even small fruit trees.
The key? Strategic reinforcement and proper drainage—two elements that separate a wobbly planter from a long-lasting garden workhorse.
Before grabbing a pallet, inspect it for HT stamping (heat-treated wood) and avoid chemically treated varieties. Heat-treated pallets are safe for gardening and less likely to leach toxins into your soil. Pair it with 2x4 lumber for support and corrugated metal roofing for a durable base.
This build prioritizes weight distribution and load-bearing capacity, ensuring your table won’t sag under the weight of mature plants or frequent harvesting.
Select and Prep Pallets
Choose HT-stamped pallets (heat-treated) and sand rough edges. Remove any loose nails or staples with pliers. Stack 3-4 pallets vertically, aligning edges for maximum stability. Use a level to ensure even height.
Build the Base Frame
Construct a rectangular frame using 2x4 lumber (4' x 8' dimensions). Attach corrugated metal roofing to the bottom for weather resistance. Secure the pallets to the frame with heavy-duty screws (2.5" length) every 12 inches.
Reinforce with Metal Brackets
Add L-brackets at each corner and midpoint of the pallet stack. Use galvanized screws (3" length) to attach brackets to both the frame and pallets. This distributes weight evenly and prevents sagging under heavy loads.
Add Drainage Holes
Drill 1-inch drainage holes in the bottom pallet slats using a hole saw. Space holes every 6 inches to prevent waterlogging. Line the bottom with landscape fabric to keep soil in place.
Seal and Weatherproof
Apply a non-toxic wood sealant (like linseed oil) to protect against rot. For extra durability, wrap the edges with landscape fabric or burlap. Let dry 24 hours before planting.
Fill with Soil and Plant
Use a lightweight potting mix (add perlite for drainage). Plant heavy-rooted crops like squash or melons in the center for balanced weight. Add wheelbarrow handles as side rails for easy moving.
For extra weight capacity, consider adding a second layer of pallets on top of the initial stack. This creates a double-decker design perfect for herbs and shallow-rooted plants while keeping the base sturdy.
Test the table’s stability by placing a 5-gallon bucket of water (about 40 lbs) in the center—if it holds firm, it’s ready for your garden!
Pro tip: Elevate the table on brick feet or adjustable legs to improve drainage and airflow. This also makes harvesting easier and prevents soil from spilling onto your patio. With this design, you’ll grow heavier crops like zucchini or peppers without worrying about collapse.
Once your table is built, seasonal maintenance is key. Check for loose screws every 6 months and reapply sealant if the wood looks dry. Replace any rotted slats immediately to maintain structural integrity. With proper care, your pallet gardening table will last 5+ years—far longer than most store-bought planters!
🌱
Top 5 pallet gardening table designs for different spaces and needs
Not all pallet gardening tables are created equal—your space and gardening goals determine the best design. Whether you're working with a cramped balcony, a sunny patio, or a ground-level plot, the right table maximizes growing potential while saving space.
Below, I compare five proven designs, from vertical space-savers to modular systems, each with unique benefits for longevity and plant health.
Key factors like weight capacity, drainage solutions, and material upgrades set these designs apart. For example, a horizontal tiered table holds more soil but requires sturdy legs, while a vertical pallet wall thrives in tight spaces but needs extra reinforcement.
Let’s break down the best options for your needs.
For balcony gardeners, the vertical pallet wall is my top pick—it maximizes square footage without sacrificing sunlight. Mount it against a railing or fence using L-brackets and waterproof sealant to prevent rot. Add herbs like basil and cherry tomatoes to small pockets for high yields in tight spaces.
If you have ground-level space, a horizontal tiered table offers unmatched versatility. Build it with PVC pipe legs for stability and add gravel at the bottom to improve drainage.
This design supports heavy plants like squash or zucchini while keeping roots cool. For extra durability, reinforce corners with metal corner braces.
Urban dwellers will love modular stackable units, which let you expand or shrink your garden as needed. Use corrugated metal bases to distribute weight evenly and add drip trays to catch runoff.
These work perfectly for container-friendly plants like peppers or strawberries, and you can stack them 2-3 high for vertical growth.
For a low-maintenance solution, a single-slab raised table with concrete blocks as supports is ideal. It’s perfect for kitchen gardens where you want easy access. Line the bottom with landscape fabric and add a perforated tray to prevent soil spillage.
This design also doubles as a seating bench for outdoor dining!
Lastly, hanging pallet planters are a creative way to utilize porches or fences. Use galvanized hooks for longevity and add a self-watering reservoir at the bottom to reduce maintenance. These are perfect for trailing plants like nasturtiums or cherry tomatoes, adding a pop of color while saving space.
No matter which design you choose, always treat pallets with a non-toxic sealant and drill drainage holes to prevent waterlogging. With the right upgrades, your pallet gardening table will last for years—giving you a sustainable, space-saving way to grow your favorite plants! 🌱