Vegetables
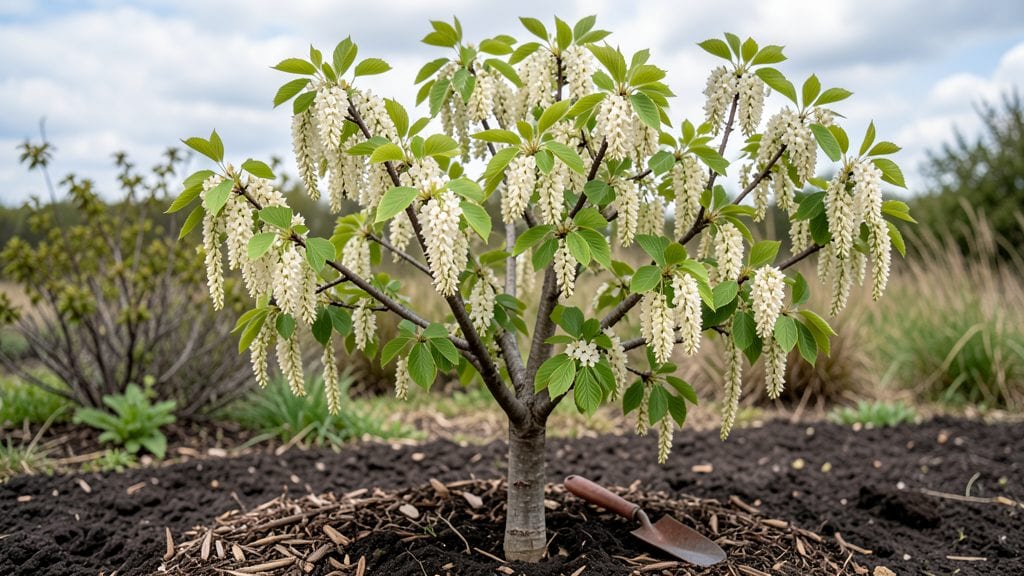
Copenhagen’s vertical gardens prove you don’t need acres to grow lush, productive greens—just clever design. 🌿 I’ve studied how they turn tiny urban spaces into thriving food forests, using stacked planters and native Nordic plants that flourish even in limited light.
The key isn’t fancy materials but smart layering: herbs at the top, leafy greens in the middle, and root crops below, all fed by rainwater systems.
These gardens use lightweight cedar frames filled with a mix of coconut coir and compost, keeping weight manageable while locking in moisture. The plant palette focuses on hardy Nordic varieties like kale, Swiss chard, and dwarf apples that handle cool climates without fuss.
You’ll see how they integrate seating, pathways, and even vertical fruit trees into the design—making every inch work harder.
What’s amazing is how quickly these planters transform bare walls into edible art. Within weeks, you’ll have crisp lettuce, fragrant thyme, and even strawberries trailing down the sides. The real magic?
They double as insulation for buildings, reduce stormwater runoff, and create habitats for bees and butterflies—all while looking stunning. Here’s how to adapt their principles to your balcony or backyard.
Whether you’re working with a fire escape or a community garden plot, the same rules apply: prioritize drainage, choose plants that love your light conditions, and don’t overcomplicate the materials. Start small—even a single 4-foot-tall planter makes a statement—and let the plants do the heavy lifting.
The Nordic approach proves beauty and function can grow side by side, no matter how tight the space.
📚 In This Guide
- What you need
- Instructions
- Tips and common mistakes
- Wrapping up and next steps
What you need
- ● Vertical Planter Box: 1–2 pre-made wooden or metal vertical planters (e.g., 24"–36" tall, 12"–18" wide, with built-in pockets or slats). OR
- ● 1 sheet cedar or pine plywood (½" thick, 4' x 8') for DIY construction.
- ● Growing Medium: 1 cubic yard high-quality potting mix (lightweight, well-draining, with added perlite or compost).
- ○ 1 bag hydroponic clay pebbles (for drainage, optional but recommended).
- ● Plants: 6–10 compact vegetable varieties suited for vertical growth (e.g., cherry tomatoes, bush beans, lettuce, herbs like thyme or parsley, or dwarf peppers).
- ○ 1–2 self-watering reservoirs (optional, for automated care).
- ● Tools: 1 measuring tape (for precise spacing).
- ● 1 drill (if building your own planter) + wood screws (½"–¾").
- ● 1 trowel or small shovel (for planting).
- ● 1 watering can with a rose nozzle (or spray bottle for delicate plants).
- ● 1 pruners (for trimming and maintenance).
- ○ Location: A spot with at least 6 hours of sunlight daily (south or west-facing is ideal). If indoors, ensure access to a grow light (optional).
- ● Support Structure: A wall-mounted bracket, fence, or freestanding stand rated for the planter’s weight (check local building codes if mounting to a wall).
- ● Water Access: A nearby hose or water source for easy hydration.
- ● Time Commitment: 10–15 minutes daily for watering and occasional pruning (less if using self-watering features!).
Step-by-Step instructions for Nordic-style vertical planters
Transform your small space into a lush, functional garden with these simple vertical planters inspired by Copenhagen’s green urban style.
🪴 Step 1: Gather Materials and Prep the Structure
Start with a sturdy vertical planter frame—Copenhagen’s designs often use reclaimed wood or lightweight metal grids. If using wood, sand any rough edges to prevent splinters and ensure the frame is level against a wall or freestanding. I like to add small hooks or brackets to the back for hanging tools or decorative accents later.
Line the bottom of the planter with a 1-inch layer of gravel for drainage. This prevents waterlogging and keeps roots healthy. If your planter has no built-in drainage, drill a few small holes in the bottom or sides to mimic natural water flow. Think of it like a tiny Nordic waterfall for your plants!
🌱 Step 2: Layer Soil and Add Plants Strategically
Fill the planter with a lightweight, well-draining potting mix—avoid garden soil, which compacts and suffocates roots. For a Copenhagen touch, mix in a handful of worm castings or compost for nutrients. Leave about 2 inches of space at the top for watering without overflow.
Plant deep-rooted varieties like lavender or sedum at the bottom pockets, where they’ll have more room to establish. Fill upper pockets with shallower plants like thyme, creeping jenny, or ornamental grasses. Arrange them in odd-numbered clusters for a natural, balanced look—this mimics the organic feel of Copenhagen’s urban greenery.
💧 Step 3: Water and Establish a Care Routine
Water thoroughly after planting, letting the moisture seep through the layers. Check the soil every 2-3 days—vertical planters dry out faster than ground-level gardens. Stick your finger 1 inch into the soil; if it feels dry, it’s time to water. In Copenhagen’s climate, morning watering works best to prevent evening evaporation.
Fertilize lightly once a month with a balanced, water-soluble fertilizer. I like to use a diluted seaweed solution—it’s gentle and mimics the coastal influence of Nordic gardening. Avoid over-fertilizing; vertical gardens thrive on moderation, just like Copenhagen’s minimalist aesthetic.
☀️ Step 4: Position for Light and Maintain Year-Round
Place your vertical planter where it gets at least 4-6 hours of sunlight daily. South-facing walls are ideal, but even east or west exposures work for sun-loving plants. If indoors, supplement with a grow light for 12-14 hours per day—especially in winter, when daylight is scarce.
Prune leggy growth regularly to encourage bushier, fuller plants. In autumn, trim back dead foliage and add a fresh layer of mulch to insulate roots. Copenhagen’s gardens stay vibrant year-round, so don’t let your planter go dormant—even evergreens like boxwood or heather add winter interest.
Tips & tricks for Nordic-style vertical planters
Here's what I've learned from creating these minimalist, space-saving gardens inspired by Copenhagen's urban green spaces.
Drainage is Everything: That 1-inch layer of gravel in Step 1 isn't just for show—it's crucial for preventing root rot in vertical planters. If your frame doesn't have drainage holes, drill them in a zigzag pattern to mimic natural water flow. I've seen plants thrive with proper drainage that would otherwise struggle in regular containers.
Soil Selection Matters: Skip the garden soil! The lightweight potting mix in Step 2 is designed to prevent compaction, which is especially important in vertical designs where roots don't have room to spread. For extra Nordic flair, mix in a handful of worm castings—it gives plants a gentle nutrient boost without overwhelming them, just like Copenhagen's balanced approach to urban living.
Plant Placement Strategy: In Step 2, remember that bottom pockets get the most space—this is where you want deep-rooted plants like lavender or sedum. The upper pockets should have shallower plants like thyme or creeping jenny. I arrange them in odd-numbered clusters because it creates that natural, organic look Copenhagen gardens are known for. Think of it as the Nordic version of "less is more."
Lighting Hack for Indoor Planters: If you're placing your vertical planter indoors, those 12-14 hours of grow light in Step 4 can make all the difference. I position mine about 6 inches above the plants and use LED grow lights—they're energy-efficient and mimic natural sunlight. For winter months, I extend the light time to 14 hours to compensate for Copenhagen's shorter days.
Pro Tips for Gardens Of Copenhagen
- Here's what I've learned from creating these minimalist, space-saving gardens inspired by Copenhagen's urban green spaces.
- Drainage is Everything: That 1-inch layer of gravel in Step 1 isn't just for show—it's crucial for preventing root rot in vertical planters.
- Soil Selection Matters: Skip the garden soil!
Frequently asked questions
Planning to bring Copenhagen’s charm into your compact space? Here are some answers to common questions about creating Nordic-style vertical planters—just like those found in Copenhagen’s lush gardens!
What are the best vegetables to grow in vertical planters for small spaces?
Opt for compact, high-yield veggies like cherry tomatoes, lettuce, radishes, green onions, and bush beans. These thrive in vertical setups and don’t require deep soil. Herbs like basil and thyme also grow beautifully in pockets or hanging planters!
How long does it take to see results in vertical gardens?
Fast-growing veggies like radishes or green onions can be ready in 3–4 weeks, while tomatoes and beans take 6–10 weeks. Patience pays off—just ensure consistent watering and sunlight (6+ hours daily) for the best growth!
How often should I water vertical planters?
Water daily in hot weather or when the topsoil feels dry. Vertical gardens dry out faster than ground-level ones. Use a self-watering system or drip irrigation to maintain moisture without overwatering. Check soil levels every morning!
Can I reuse materials like pallets or old crates for vertical gardens?
Clean and treat wooden pallets or crates with non-toxic sealant to prevent rot. Avoid pressure-treated wood (chemical risks). For a Copenhagen-inspired look, pair them with cobblestone-style pots or woven baskets for a rustic Nordic touch.
How do I protect my vertical garden from Copenhagen’s unpredictable weather?
Use frost cloth for chilly nights and move planters indoors during extreme cold. Choose cold-hardy plants like kale or spinach for early/late seasons. Elevate planters to avoid waterlogging from rain—drainage holes are a must!
Wrapping up and next steps
Copenhagen’s gardens prove that small spaces can yield big harvests—with vertical planters, you’re not just saving room, you’re embracing a sustainable, stylish, and productive way to grow.
Whether you’re a seasoned gardener or a curious beginner, these Nordic-inspired designs make it easy to greenify your urban oasis without compromise. 🌱
Ready to transform your balcony or patio? Start by sketching your space, gathering your materials, and let your creativity (and veggies!) take root. Your future self—and your dinner plate—will thank you.