
Landscaping
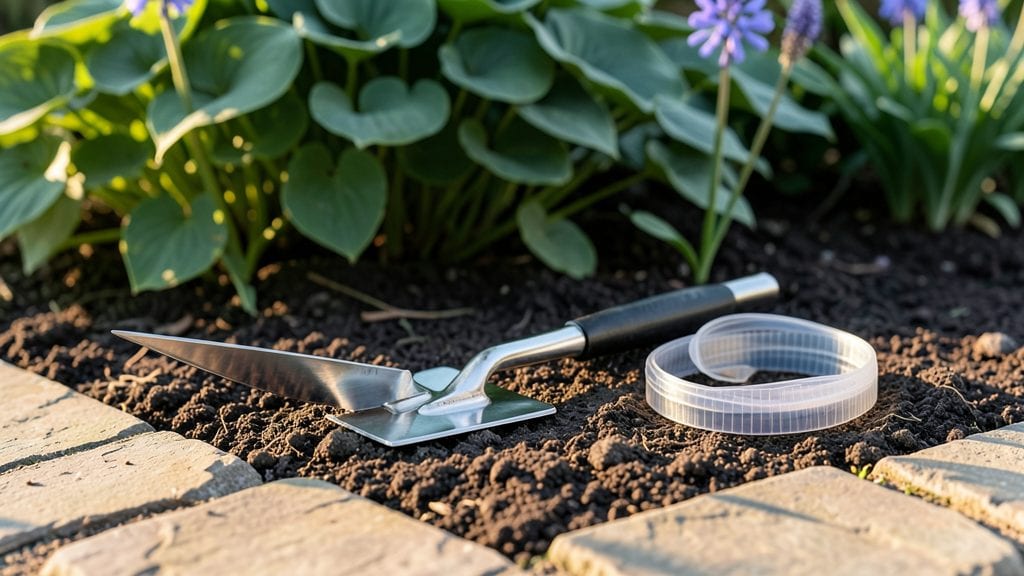
The right gardening edging tools turn messy borders into crisp, professional-looking lines that make your garden look intentional. 🌿 I learned this the hard way after spending hours leveling soil only to have grass creep back in—until I invested in the right tools and technique.
Now my flower beds stay clean, my lawn stays put, and my garden looks like it belongs in a magazine spread.
You don’t need a full toolbox—just a few key items like a sturdy edging shovel for heavy-duty work, a flexible plastic edger for tight curves, and sharp metal shears for precise cuts. For larger projects, a border spade with a pointed tip helps drive edging materials cleanly into the ground.
The best part? These tools last for years, and the difference they make in your garden’s polish is immediate.
Once you’ve got the right tools, you’ll see how edging transforms your garden’s look and function. No more struggling to mow around flower beds or watching weeds take over. Instead, you’ll have clean lines that define spaces, prevent soil erosion, and make maintenance a breeze.
The right edging also adds texture and style—whether you’re going for rustic wood, sleek metal, or natural stone.
Works for any garden style, from cottage gardens to modern landscapes. Let’s get those borders looking sharp without the guesswork—here’s how to choose and use the tools that’ll make the biggest difference.
📚 In This Guide
- What you need
- Instructions
- Tips and common mistakes
- Wrapping up and next steps
What you need
- ● Edging Tool (Primary): 1 x Handheld Edging Shears (e.g., Felco or Corona) – for precise cuts in soft materials like mulch or grass.
- ● OR 1 x Power Edger (corded/cordless) – for larger projects (e.g., WORX or Husqvarna).
- ● OR 1 x Vibrating String Trimmer (e.g., Stihl or Echo) – for grass-heavy borders.
- ● Measuring & Marking: 1 x 100-ft Tape Measure (for layout accuracy).
- ● 4-6 x Stakes or Spikes (to mark border lines).
- ● 1 x Garden Twine or String (to outline curves).
- ● 1 x Spray Paint (for temporary ground markings).
- ● Safety Gear: 1 x Safety Glasses (for debris protection).
- ● 1 x Work Gloves (cut-resistant if using metal edging).
- ● 1 x Ear Protection (if using power tools).
- ● 1 x Knee Pads (for comfort during long projects).
- ● 1 x Level or Straightedge (for perfectly straight lines).
- ● 1 x Edging Iron or Spike (for metal/plastic edging installation).
- ● 1 x Wheelbarrow (to haul debris or mulch).
- ● 1 x Dust Mask (for dry, dusty conditions).
How to use gardening edging tools for clean, professional borders
Here's how to create crisp, long-lasting garden edges that make your landscaping look intentional.
🪴 Step 1: Choose the Right Tool for Your Project
For soft curves and mulch beds, a flexible metal edging tool works best—it bends easily to follow natural contours. I use mine for flower beds where I want a soft, organic look. For straight lines and hard borders, a rigid plastic or aluminum edger gives clean, sharp edges that hold up to foot traffic.
If you're edging around a driveway or patio, consider a vibrating edging tool—it cuts through compacted soil like butter. Test which tool feels best in your hand before committing to a full border. The right tool makes the difference between a messy edge and a polished finish.
✂️ Step 2: Mark Your Edging Line
Use a garden hose or string line to outline where your edge will go. For curves, step back and visualize the shape—you can adjust as you go. Press the hose into the soil lightly to create a visible trench, then remove it to reveal your guide.
I like to use stakes and twine for straight lines, hammering stakes every 3-4 feet and stretching the twine taut. This ensures perfect alignment before you start cutting. Walk the line to check for consistency—if it feels uneven, adjust the stakes before proceeding.
💧 Step 3: Cut the Soil Along Your Marked Line
Insert the edging tool at a 45-degree angle into the soil, about 1-2 inches deep, along your marked line. For flexible tools, press down firmly and drag forward in smooth motions. For rigid tools, use a sawing motion to create a clean vertical cut.
Work in small sections—2-3 feet at a time—to maintain control. If the soil resists, loosen it first with a garden fork or shovel. The goal is a consistent depth all along the edge, so check frequently with the tool itself as a guide.
☀️ Step 4: Refine and Secure the Edge
After cutting, use a hand tamper or the back of your edging tool to press the soil firmly along the new edge. This prevents erosion and gives your border stability. For extra durability, consider adding a plastic or metal edging strip to the trench you created.
Fill any gaps with additional soil or mulch to blend the edge seamlessly. Step back and inspect from a distance—if any section looks uneven, recut it before it sets. A well-defined edge should look intentional, not forced.
🌿 Step 5: Maintain Your Edges for Long-Lasting Results
After edging, avoid walking directly on the border to prevent compression. For mulched beds, refresh the mulch annually to keep edges sharp. If using a metal edger, check for rust and clean with a wire brush every few months.
Re-cut edges once a year in early spring to refresh their appearance. Over time, soil shifts and edges soften—staying on top of maintenance keeps your garden looking crisp. A little effort now saves hours of cleanup later.
Tips & tricks for perfect garden edging
Here's what I've learned after years of trial and error—these tricks will help you achieve professional-quality garden borders every time.
Tool Selection Tip: Don't just grab any edging tool! For flower beds and curves, the flexible metal edger from Step 1 is your best friend—it follows natural contours beautifully. But here's the thing: if you're working around established plants, I recommend using a narrow, flexible tool first to avoid damaging roots. For straight paths or driveways, the rigid aluminum edger creates those sharp, clean lines that make all the difference.
Marking Line Technique: In Step 2, when you're marking your line, I've got a pro trick: for large areas, use a laser level to project a straight line onto the ground. It saves time and ensures perfect alignment without all that stake-hammering. For curves, walk your hose line and adjust as you go—your eye is better than a ruler at seeing natural shapes. And here's what nobody tells you: paint a line with garden paint along your hose trench before removing it. This gives you a visible guide for cutting that won't fade for hours.
Cutting Consistency: The 45-degree angle in Step 3 is crucial, but here's how to nail it: hold your tool like a pencil—grip it firmly about 6 inches from the tip. For the 1-2 inch depth, use your other hand to guide the tool while keeping your wrist straight. I find working in those 2-3 foot sections actually helps me maintain consistency—it's easier to check depth when you're not trying to visualize the whole border at once. Pro tip: use a ruler to check depth periodically—your eyes can deceive you when you're tired.
Maintenance Secret: I learned this the hard way after my first edging job: the annual spring recut in Step 5 is non-negotiable. But here's how to make it easier: after your initial edging, apply a thin layer of landscape fabric along the edge before adding mulch. It prevents soil from creeping back into your trench and makes future maintenance a breeze. And for metal tools, I keep a small bottle of WD-40 in my gardening shed—just a quick spray after cleaning prevents rust for months.
Pro Tips for Gardening Edging Tools
- Here's what I've learned after years of trial and error—these tricks will help you achieve professional-quality garden borders every time.
- Tool Selection Tip: Don't just grab any edging tool!
- Marking Line Technique: In Step 2, when you're marking your line, I've got a pro trick: for large areas, use a laser level to project a straight line onto the ground.
Frequently asked questions
Got questions about gardening edging tools?
You’re not alone! Here are some of the most common queries—plus clear, actionable answers to help you create flawless garden borders with confidence.
What’s the best type of edging tool for my garden size?
For small gardens or tight spaces, a handheld edging iron or oscillating tool works wonders. Larger areas benefit from a walk-behind edging tool or a rotary trimmer for efficiency. Always match the tool to your garden’s scale—no need to overpower a tiny flower bed!
When is the best time of year to use edging tools?
Spring and early fall are ideal! Soil is softer and easier to cut, and weeds are less aggressive. Avoid winter (frozen ground) or peak summer (dry, hard-packed soil). Pro tip: Edge after rain when the earth is moist but not muddy for cleaner lines.
Are there affordable alternatives to expensive edging tools?
For DIYers on a budget, try a shovel (for digging clean trenches) or a string trimmer (with a straight edge guide). A wooden or metal edging strip can also define borders without power tools. Just add time and elbow grease!
How do I fix uneven or wobbly edging after using a tool?
Start by re-marking your lines with spray paint for guidance. Use a hand tamper to firm the soil, then re-cut with your edging tool. For stubborn spots, a handheld vibrator (like a plate compactor) can help settle the base. Patience is key—take your time for crisp, straight edges!
Can I use edging tools on gravel or mulch beds?
Yes, but with caution! For gravel, use a sharp, narrow blade (like a spade or edging knife) to avoid scattering stones. In mulch beds, a rotary trimmer works best—just clear debris first. Avoid heavy tools that might crush plants or displace materials.
Wrapping up and next steps
Choosing the right gardening edging tools can transform your garden from chaotic to curated—adding structure, elegance, and even value to your outdoor space! 🌿 Whether you’re working with metal, plastic, or natural materials, precision is key, and the right tool makes all the difference.
Start small with a single border, experiment with styles, and soon, your garden will reflect your creativity and attention to detail.
Ready to elevate your landscaping game? Pick up a tool (or two!) today and dive into your next project—your garden’s polished edges are waiting! 🛠️✨