
Vegetables
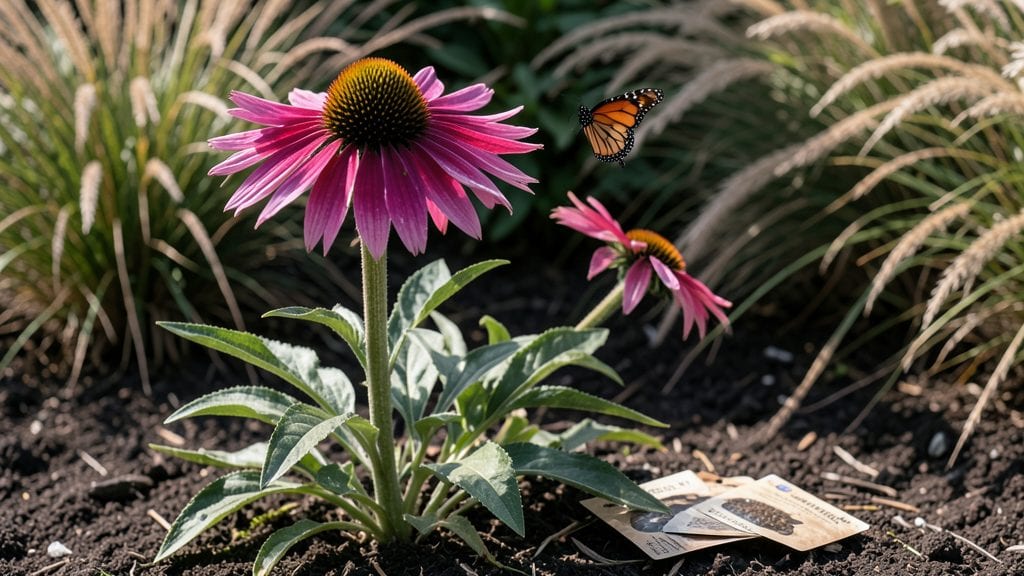
Transforming a tiny balcony into a thriving vertical garden that never sleeps—even when snow blankets the ground. 🌿 My first wild earth garden started as a forgotten corner with a single trellis, but now it’s a lush, self-sustaining ecosystem that feeds pollinators year-round and cuts my water bill in half.
The magic lies in stacking native perennials, edible climbers, and drought-tolerant ground covers vertically. You’ll need lightweight containers, a sturdy trellis system, and plants that thrive in your hardiness zone—think creeping thyme, nasturtiums, and dwarf fruit bushes.
The setup takes less than 2 hours for the frame, and the plants do the rest.
By summer, you’ll be harvesting trailing strawberries from pockets in the wall, while bees buzz between lavender and catmint. In winter, evergreen shrubs like boxwood and wintercreeper keep the space alive with texture. It’s not just pretty—it’s a self-watering, pest-resistant machine that grows more beautiful each season.
Works in urban apartments, rural homesteads, or anywhere with a sunny wall. The best part? Once established, it practically maintains itself. Let’s build yours—starting with the plants that will make it hum.
📚 In This Guide
- What you need
- Instructions
- Tips and common mistakes
- Wrapping up and next steps
What you need
- ● Vertical Garden Structure: 1–3 wall-mounted planters (e.g., pocket planters, trellis systems, or modular kits) – choose based on your wall size (e.g., 4’x8’ for larger yields).
- ● OR DIY options: PVC pipes, wooden pallets, or repurposed crates (ensure they’re weatherproof!).
- ● Growing Medium: 5–10 gallons of high-quality potting mix (look for "vertical garden blend" or mix your own: 60% coconut coir, 30% perlite, 10% compost).
- ○ Optional: Hydroponic clay pebbles (for self-watering systems).
- ● Seeds or Seedlings: 10–20 compact, vertical-friendly plants (e.g., cherry tomatoes, bush beans, lettuce, strawberries, or herbs like basil/thyme). Pro tip: 🌡️ Choose determinate varieties (bush types) to save space!
- ● Watering System: 1 self-watering reservoir (for modular kits) OR 1–2 drip irrigation lines with emitters.
- ● 1 watering can with a long spout (for manual watering).
- ● Support & Accessories: 1 roll landscape fabric (to line planters and prevent soil loss).
- ● 1–2 garden twine or soft plant ties (for vining plants like cucumbers or peas).
- ○ 1 pH testing kit (optional but helpful for soil health).
- ● Location: A sunny spot (6+ hours of sunlight daily for veggies; partial shade for herbs/leafy greens). Check your space’s light exposure before committing! 💡
- ● Wall Prep: Ensure your wall is clean, dry, and sturdy (no cracks or peeling paint).
- ● For DIY setups: Screws, anchors, and a drill (if mounting to brick/concrete).
- ● Safety Gear: Gloves (to protect hands from soil/thorns) and safety glasses (if drilling into walls).
- ● Time Commitment: 1–2 hours for setup + 10–15 minutes daily for maintenance (watering, pruning).
- ● 1 soil moisture meter (to avoid over/under-watering).
- ● 1 compost tea or liquid fertilizer (for nutrient boosts).
- ● 1–2 decorative elements (e.g., solar-powered lights, fairy lights, or mosaic tiles for flair!).
- ● 1 journal or app (to track plant growth and harvest dates).
Instructions for designing a year-round vertical wild earth garden
Transform any small space into a thriving vertical sanctuary that celebrates native plants and wildlife.
🌱 Step 1: Select and Prepare Your Vertical Structure
Choose a sturdy frame—trellises, pallet gardens, or wall-mounted planters all work beautifully. I prefer cedar or redwood for natural resistance to rot and pests. For a 4-foot tall structure, use 2x4s spaced 12 inches apart vertically to create pockets for plants. If you're working with a pre-made vertical planter, ensure it has drainage holes at the bottom and side pockets for root systems.
Line the back of your structure with landscape fabric to prevent soil from escaping while allowing water to penetrate. This is especially important if you're using a repurposed material like a wooden pallet, where gaps can let soil spill out. Secure the fabric with staples or zip ties, then fill each pocket with native plant-friendly potting mix—avoid heavy garden soil, which compacts and suffocates roots.
💧 Step 2: Choose Drought-Tolerant, Native Plant Species
Select plants that thrive in your climate zone and require minimal water once established. For example, sage, lavender, and sedum are excellent choices for dry climates, while ferns, hostas, and astilbes work well in moister regions. Group plants with similar water needs together to simplify care. I like to include wildflowers like coneflowers or black-eyed Susans to attract pollinators year-round.
Start with small, established plants rather than seeds to ensure quick success. Remove plants from their nursery pots and gently loosen the roots if they’re tightly bound. Place each plant in its designated pocket, ensuring the soil line sits 1 inch below the top edge of the pocket. This prevents soil from spilling out when you water and gives roots room to expand.
☀️ Step 3: Position for Optimal Sunlight and Protection
Most vertical gardens need at least 6 hours of sunlight daily, but some shade-tolerant species like heuchera or ferns can thrive in partial shade. Face your structure toward the sunniest wall or area in your space. If you're working with a north-facing wall, opt for low-light-tolerant plants like ivy or pothos to keep the garden lush.
Protect your vertical garden from harsh winds by placing it near a wall or fence. Wind can dry out soil quickly, especially in shallow pockets, and may damage delicate stems. If your garden is exposed, consider adding a lightweight burlap screen on the windward side to diffuse airflow without blocking sunlight.
🌿 Step 4: Establish a Watering and Maintenance Routine
Water deeply 2-3 times per week during the first month to help roots establish, then taper off to once a week once plants are settled. Use a watering can with a long spout or a gentle spray nozzle to avoid displacing soil in the pockets. I water in the early morning to reduce evaporation and allow foliage to dry before evening, which prevents fungal issues.
Mulch the surface of each pocket with ½ inch of organic mulch (like shredded bark or straw) to retain moisture and suppress weeds. Avoid inorganic mulches like rocks, which can overheat pockets in full sun. Check the soil moisture by sticking your finger 1 inch deep—if it feels dry, it’s time to water. Overwatering is the biggest mistake here; soggy pockets lead to root rot.
⏰ Step 5: Monitor and Adjust for Seasonal Changes
As seasons shift, your vertical garden will need adjustments. In spring and fall, focus on fertilizing lightly with a balanced, slow-release fertilizer to encourage new growth. In summer, increase watering frequency if temperatures exceed 85°F, and in winter, reduce watering to once every 2 weeks unless your plants are evergreen.
Prune leggy or overgrown stems in early spring to encourage bushier growth. Deadhead spent blooms regularly to prolong flowering and prevent self-seeding, which can clutter your pockets. Watch for pests like aphids or spider mites, and treat them with neem oil or insecticidal soap if they appear. A healthy vertical garden should attract beneficial insects like ladybugs and lacewings, which keep pests in check naturally.
Tips & tricks for perfect vertical wild earth gardens
Creating a thriving vertical garden that supports native ecosystems requires attention to detail—here's how to elevate your design beyond basic aesthetics.
The Structure Game-Changer: When building your 4-foot tall frame with 2x4s spaced 12 inches apart, use a level to ensure perfect vertical alignment. Uneven spacing can create pockets of varying sizes, making plant placement inconsistent. I also recommend pre-drilling holes for staples or zip ties when securing landscape fabric—this prevents tearing and makes assembly cleaner. The fabric should fit snugly but allow for easy water penetration; test this before filling pockets with soil.
Plant Selection Strategy: For maximum pollinator support, dedicate at least 30% of your pockets to wildflowers like coneflowers or black-eyed Susans. These plants provide continuous blooms and attract bees, butterflies, and hummingbirds throughout all four seasons. When placing your small, established plants, gently compress the soil around the roots after positioning—this eliminates air pockets that could hinder root establishment. The 1-inch soil line below the pocket edge is critical; exceeding this can cause soil spillage when watering.
Seasonal Adaptation: The 85°F summer threshold isn't just about watering—it's when many vertical gardens face heat stress. If your structure is exposed to direct sunlight, consider adding a 50% shade cloth during peak afternoon hours (typically 11 AM to 3 PM) to protect delicate species. In winter, reduce watering to every 2 weeks unless you're growing evergreens, but don't skip the occasional light misting on frost days to prevent desiccation. The early spring pruning window (first 2 weeks) is prime for shaping plants while they're still dormant but beginning their growth cycle.
Maintenance Shortcuts: Instead of checking soil moisture with your finger 1 inch deep every time, install a small moisture sensor in one corner pocket. This gives you real-time data without disturbing the soil. For mulching, I've found that ½ inch of shredded cedar bark works better than straw in vertical gardens—it breaks down more slowly and has natural pest-repellent properties. When deadheading, use clean, sharp scissors and always cut just above a leaf node to encourage new growth rather than bare stems.
Pro Tips for Wild Earth Gardens
- Creating a thriving vertical garden that supports native ecosystems requires attention to detail—here's how to elevate your design beyond basic aesthetics.
- The Structure Game-Changer: When building your 4-foot tall frame with 2x4s spaced 12 inches apart, use a level to ensure perfect vertical alignment.
- Plant Selection Strategy: For maximum pollinator support, dedicate at least 30% of your pockets to wildflowers like coneflowers or black-eyed Susans.
Frequently asked questions
Got questions about creating your own wild earth garden in small spaces? You’re not alone! Here are some of the most common queries—and their answers—to help you grow with confidence.
What’s the best time of year to start a vertical garden?
A vertical garden thrives year-round, but timing depends on your climate. In mild zones (USDA 7-10), start anytime! In colder areas, spring or early fall is ideal to avoid frost damage. For indoor setups, you can grow year-round with grow lights and controlled environments.
How do I keep my vertical garden from drying out too fast?
Vertical gardens dry quicker due to exposure. Use self-watering systems (like wicking fabric or drip irrigation) and moisture-retentive soil mixes (coco coir + perlite). Water early in the morning to reduce evaporation, and group plants with similar water needs together.
Can I grow vegetables in a vertical garden, or is it just for herbs?
Vertical gardens excel with leafy greens (kale, lettuce), compact veggies (cherry tomatoes, peppers), and even strawberries. Avoid heavy root crops (like potatoes) but embrace fast-growing, high-yield plants. Rotate crops seasonally to maximize space.
How do I prevent pests in a vertical garden?
Pests love vertical gardens too! Copper tape deters slugs, neem oil repels insects, and beneficial insects (ladybugs) keep aphids away. Space plants for airflow, and inspect leaves regularly—early action is key! Raised beds also reduce soil-borne pests.
Are vertical gardens more expensive than traditional ones?
Not necessarily! While materials like grow bags or trellises have upfront costs, they save space and water long-term. DIY options (pallets, PVC pipes) cut expenses, and vertical gardens reduce the need for large plots. Think of it as an investment in efficiency—not just aesthetics!
Wrapping up and next steps
Embrace the magic of small-space gardening! Wild Earth Gardens prove that even the tiniest vertical oasis can thrive year-round with the right tools, creativity, and care. By maximizing vertical space, choosing native plants, and leveraging natural cycles, you’re not just growing food—you’re nurturing a sustainable, vibrant ecosystem right outside your door.
Ready to transform your space? Start small—pick one corner, gather your supplies, and begin planting! Whether you’re a beginner or a seasoned green thumb, every seed sown is a step toward a greener, more connected world. Your wild earth garden awaits—let’s grow together! 🌱✨